Using Order Frontend
ClearSKY is an API-first service, yet the order functionality is accessible via order.clearsky.vision. This guide provides a comprehensive overview of the frontend, including pricing estimation for composites and tiles, as well as available settings for ordering cloudless data.
Select Mode
The Select Mode buttons serve as the primary navigation for switching between API key details, ordering with composite, and ordering with tiles.
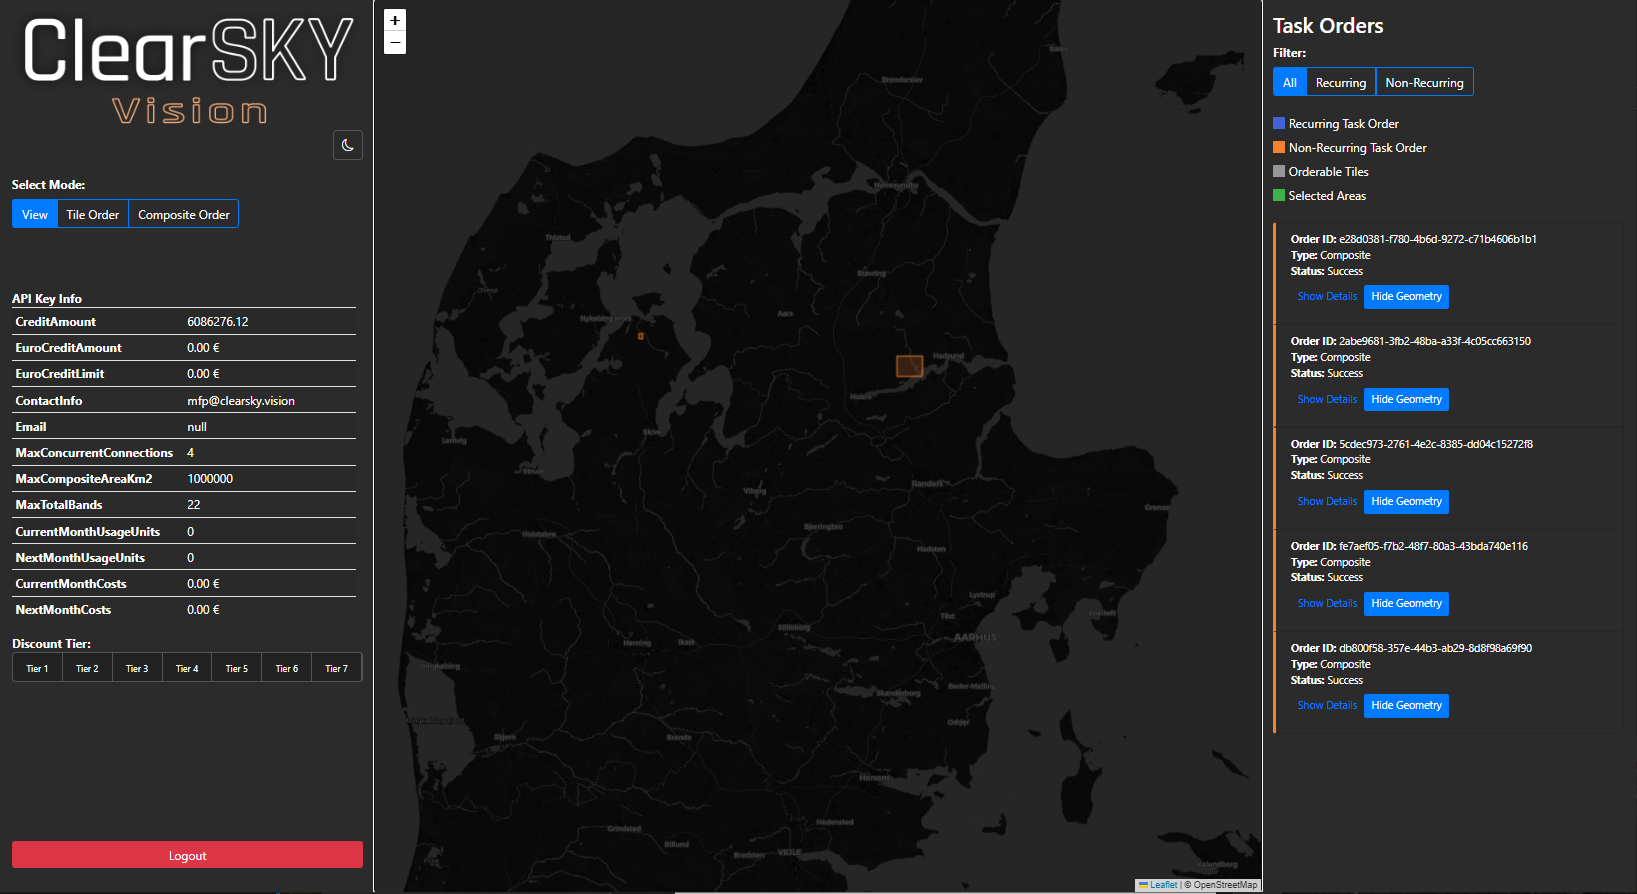
- View: Shows API key information such as the available credits used for downloading data, contact information, and API limits such as maximum area and maximum number of bands. Most importantly it also shows the price for the current months ordered data as well as an estimate for the next month data cost (eg. all recurring orders). It also visualizes the amount of
Usage Unitsobtained from ordering data in the current month and the corresponding discount tier. - Composite: Allows for ordering small custom areas, as small as 1 km2 with existing gemetries (shapefile/GeoJSON/WKT) or by drawing shapes on the Leaflet map. All pricing is on a per km2 basis.
- Tile: Allows for ordering tiles (and minitiles) by searching for available, pre-defined tiles and choosing tiles for ordering by clicking on them. All pricing is based on the size of the pre-defined tiles in km2.
View
The starting page is "View" which list API key info and discount tiers in the left sidebar. The center Leaflet map and the right sidebar will show any existing orders, both recurring and non-recurring orders.

Composite
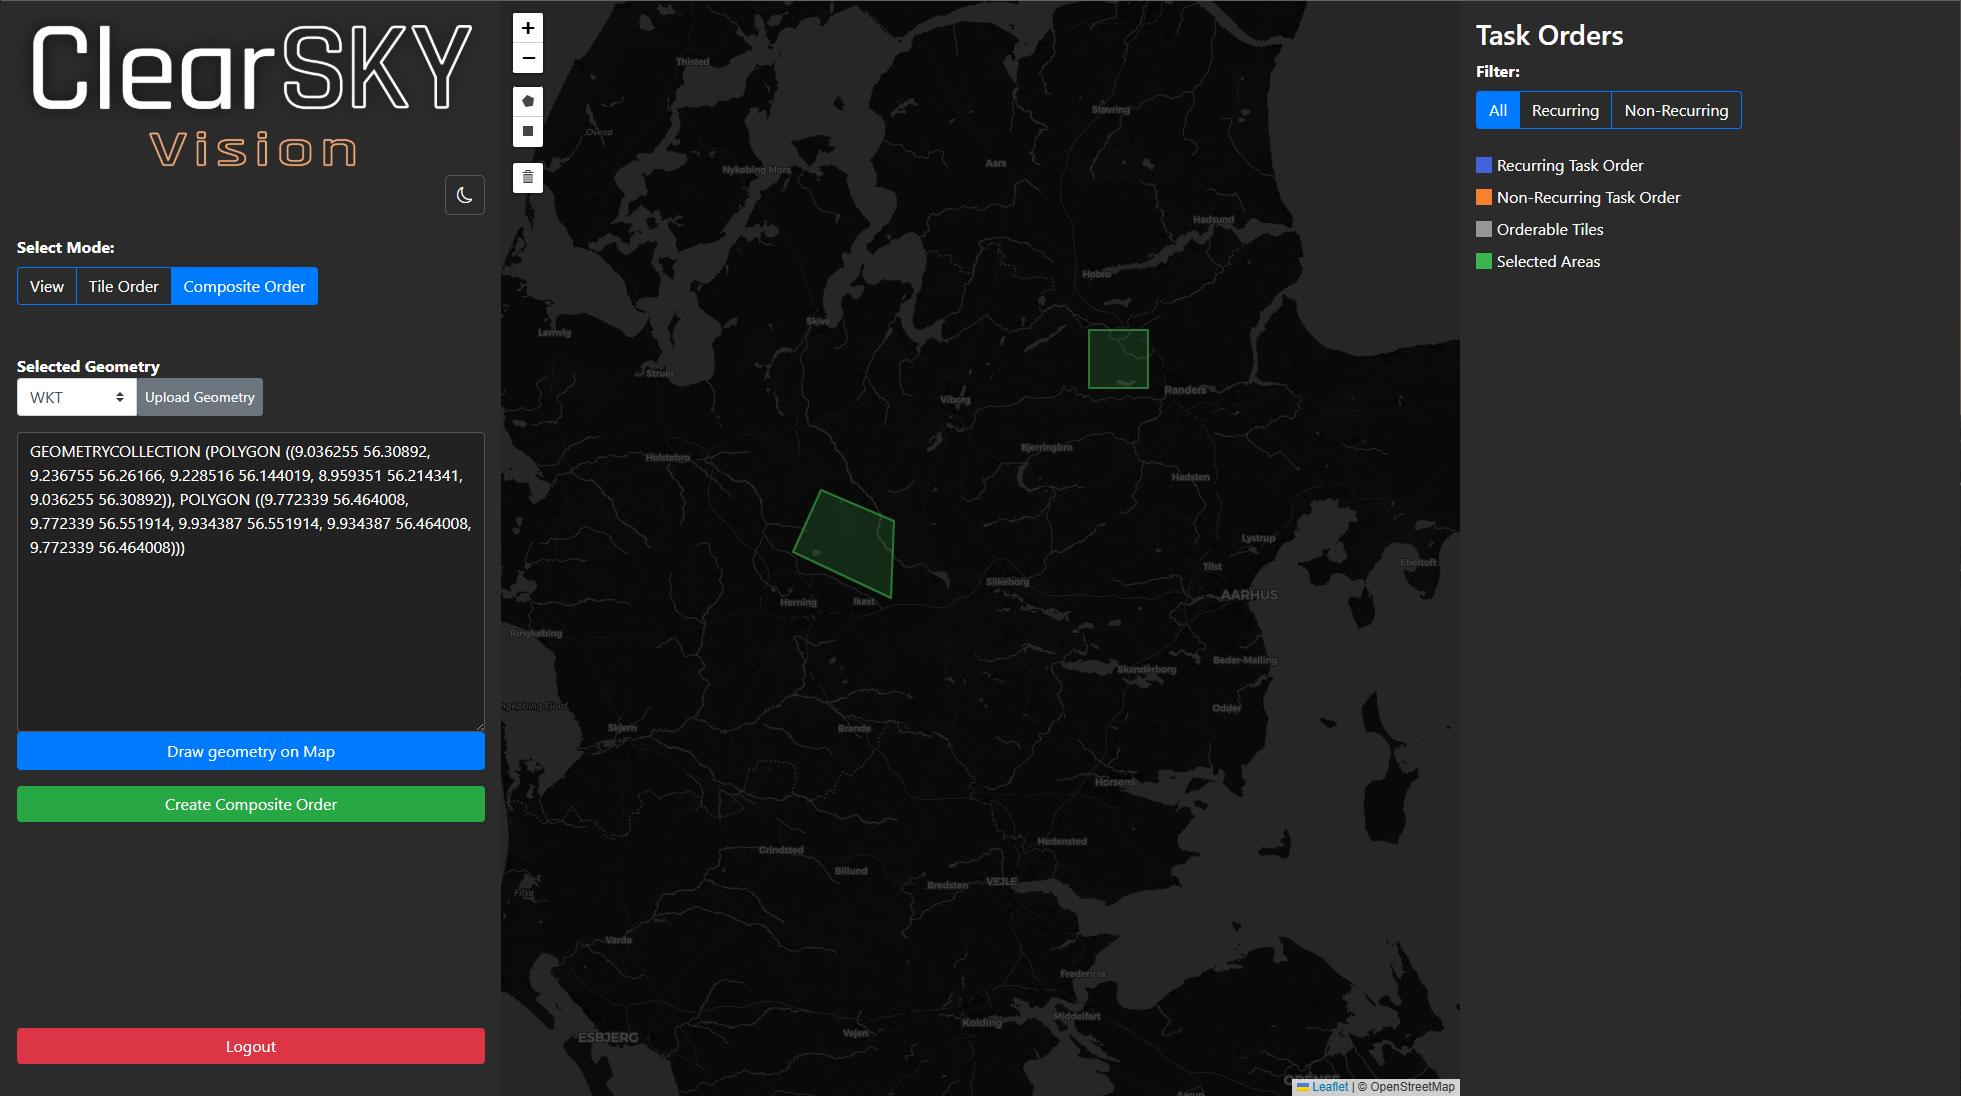
The composite ordering process starts with either uploading locally stored geometry (using the "Upload Gemetry" button) or drawing an area using the Leaflet drawing tools (i.e. "Draw a polygon" or "Draw a rectangle"). All geometries are automatically added to a single GeometryCollection in the left sidebar.

When you are satisfied with the chosen area of interest, proceed by clicking "Create Composite Order" in the left sidebar. You will now be shown a popup where you will have to fill out all necessary settings for your order.
If you have a complex shapefile/GeoJSON/WKT you want to order but need to edit it for optimization reasons, or because you want to remove or add certain polygons to it, you can use our Polygon Editor. It's made to simplify working with geometry!
Tile
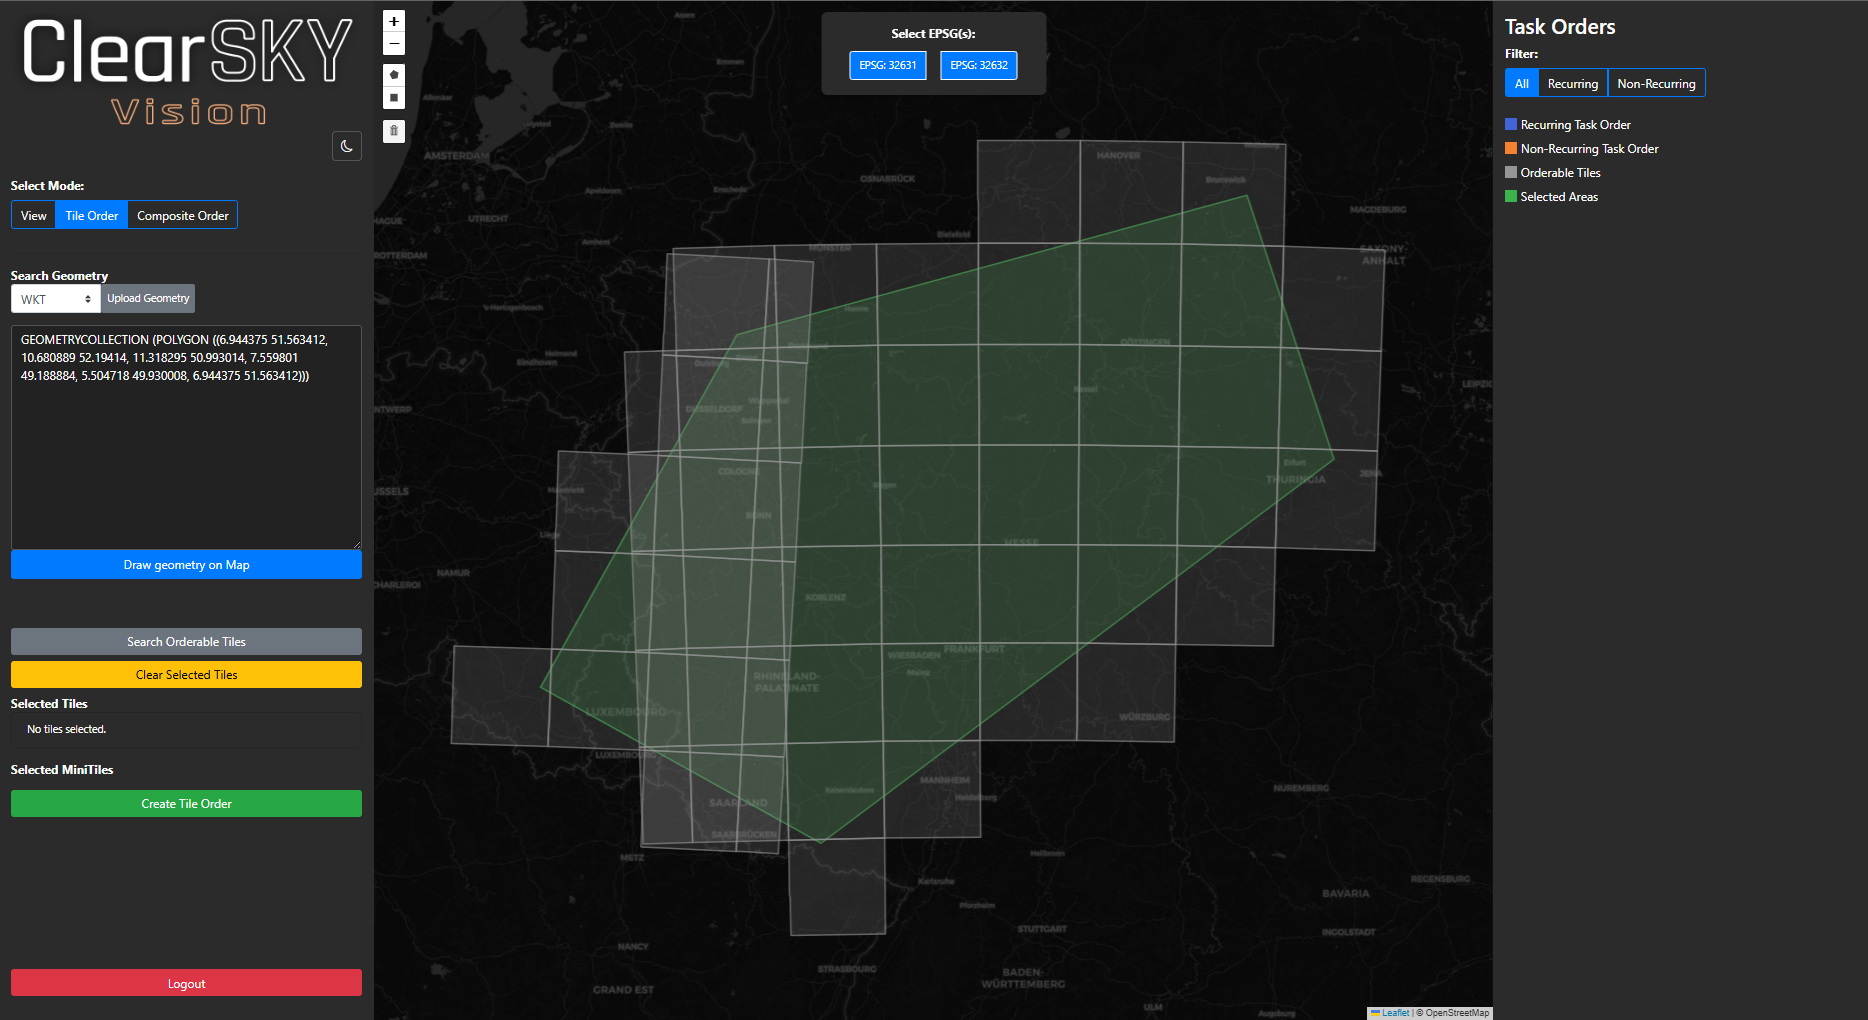
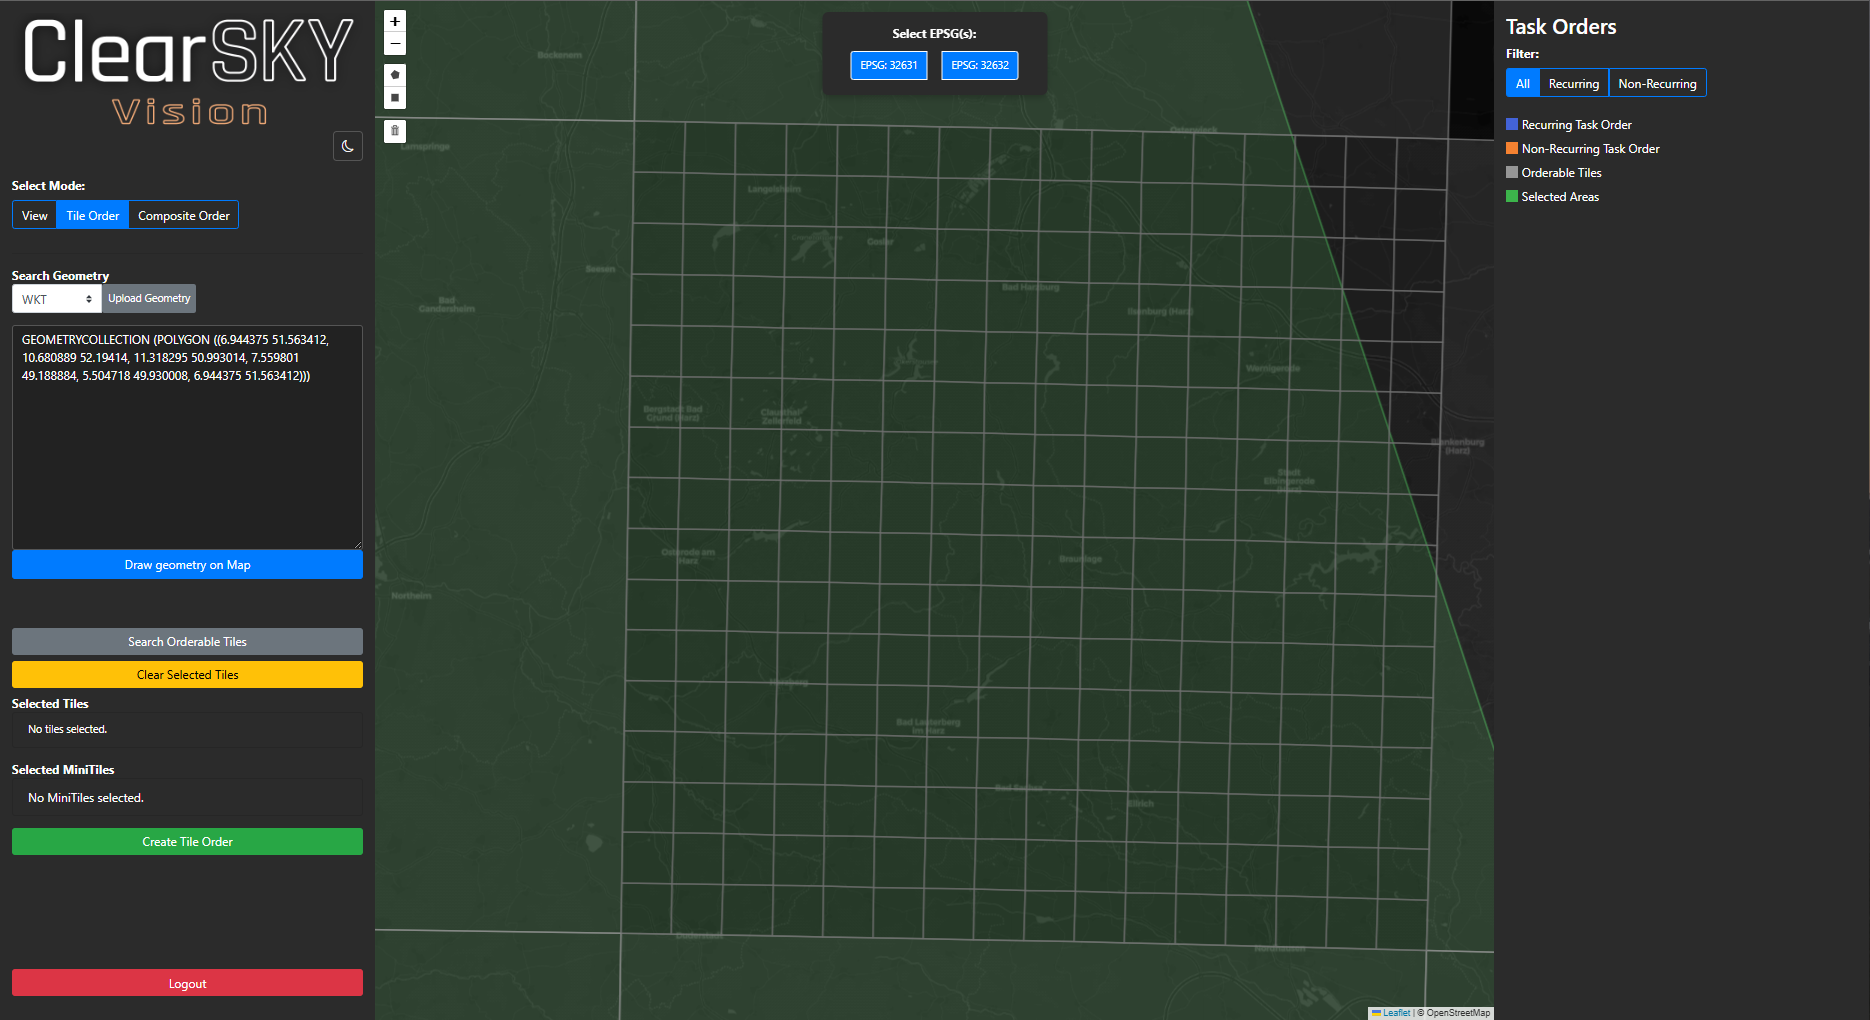
The tile ordering process starts with either uploading locally stored geometry (using the "Upload Gemetry" button) or drawing an area using the Leaflet drawing tools (i.e. "Draw a polygon" or "Draw a rectangle"). In contrast to the composite order process, this is to define where you want to see our tiles. After having drawn an area on the map or supplying local stored geometry, you can see the available tiles by clicking "Search Orderable Tiles".

If you want to add minitiles (320x320 px) to the order, you can right click on a given tile, and it will split into 256 possible minitiles. If you right click again, the minitiles will go back to a full tile.

Create Order
For both composite and tile ordering, the following step after having defined the desired areas of interest is specifying additional order settings such as the model and time-period. There are settings that are required as they are key for the delivered data and optional settings for storage duration etc.
Required settings:
- WKT: Shows the area (geometry) you just provided in the previous step. If you want to edit it, you need to go back to the previous step.
- Prediction Model: Shows a dropdown field with the available data fusion and cloud-removal models, such as Stratus2. Choose which model you would like to proceed with.
- Satellite Constellations: Shows the available satellite constellations and/or satellite instruments. Certain satellite constellations might be requird by the model and will be locked. Other satellite constellations might be unavailable for the chosen model and will be greyed out. Adding satellites not already ticked after choosing the model will incur extra costs (i.e. a higher km2 price).
- From Date: A calendar input field to define the starting month for your period of interest. All orders are limited to full months.
- To Date: A calendar input field to define the ending month for your period of interest. Choosing a past month or the current month, mean the order will not continue into the future (i.e. not recurring). Leaving the
To Dateempty means the order will continue as a recurring order until cancelled. - Image Frequency: An input field to define your desired interval of cloudless images (i.e. your desired revisit speed or frequency). Allowed image frequencies include 1, 2, 3, 4, 5, 6, and 7.
- Reference Date: An input field to define the starting date of the chosen image frequency. This date is used to control and align the continuous flow of images.
Optional settings:
- Storage Months: An input field to define the number of API download requests you can make to retrieve or process the imagery. You can customize your request quota based on anticipated usage to ensure smooth integration with your data workflows.
- API Requests: An input field to define the storage duration for which your satellite imagery and data remain available for download. You can choose a unique storage duration for each order, with the first month being free.
Your Orders
The right sidebar shows your past and current orders. You can click "Show Details" on each order in the list to see details such as Guid, the area, and other order settings for the given order.
Filter:
- All: Shows all your orders.
- Recurring: Only shows recurring orders.
- Non-Recurring: Only shows one-off orders.